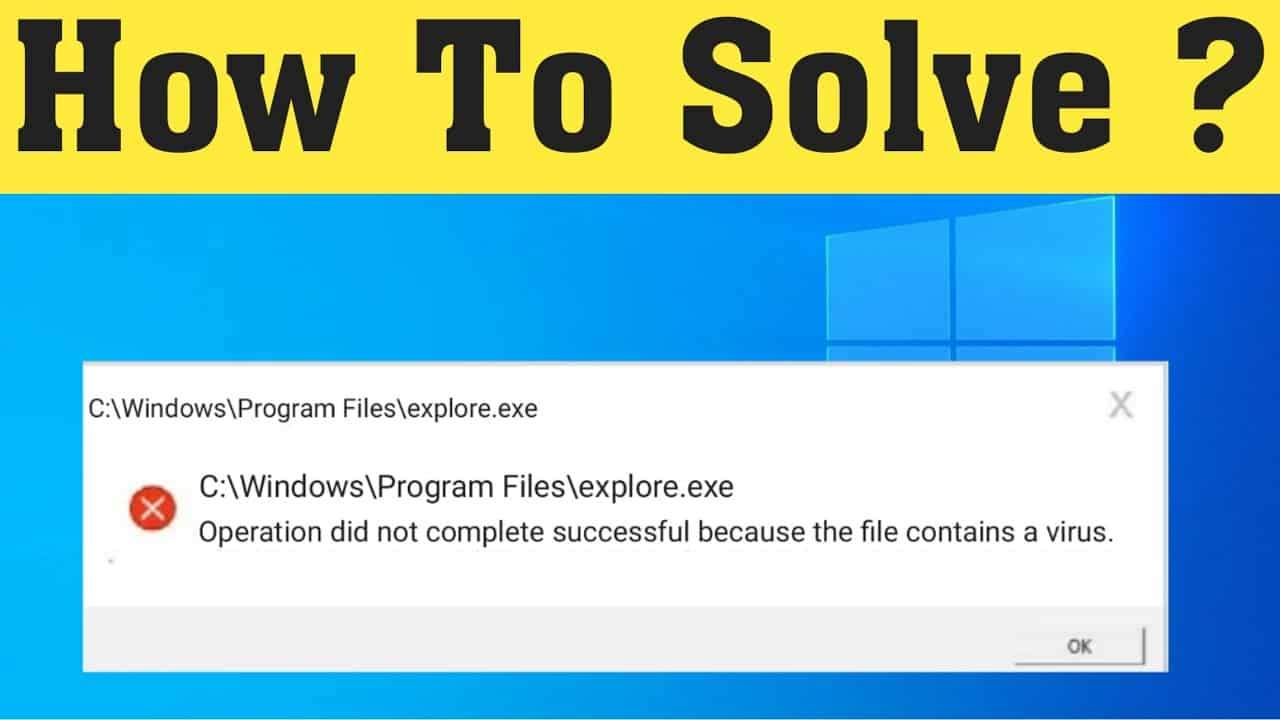
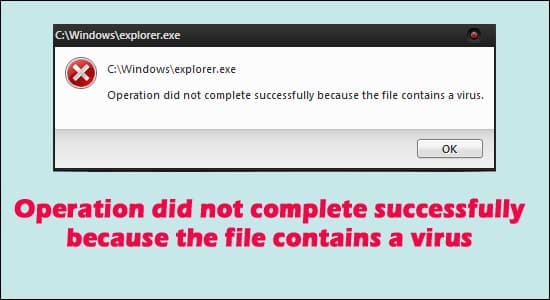
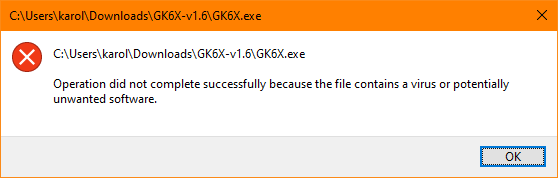
“Operation did not complete successfully because the file contains a virus or potentially unwanted software”
Is this what you are experiencing on your computer screen?
If you’ve been surfing the internet for some time, it is indeed likely that you have downloaded anything from a biased source. It is possible that you clicked on a deceptive link or that you just intended to download a trial version of an app to use before making a purchase. Windows 10 may label the download as malicious, whether or not it is.
When a file is identified as harmful, this error is displayed by Windows Defender, the operating system’s integrated antivirus program. A misleading positive or genuine virus might be detected in the file.
Therefore, in this article, we have brought up to you some of the easy-to-apply methods to eliminate viruses from a downloaded file or remove the warning if it offhandedly mentions the file is secure.
The “Operation Did Not Complete Successfully Because The File Contains A Virus” Error: Why Did This Appear?
Especially due to the virus in the infected file, a subsequent malware infection resulted in an operation failing. The infection damaged the system and brought about a lot of mistakes. This particular procedure has previously failed owing to a virus, and it is probable that it won’t do so again.
The aforementioned virus is quite well renowned for being particularly harmful and for seriously destroying systems. As a result of the operation’s full failure in this instance, it managed to wreak massive harm. Additionally, the infestation led to a significant data loss as well.
Such a particular instance emphasizes the important role of being constantly ready for any malware and virus threats on your computing device. Therefore, in order to safeguard your systems against these dangers, it is essential to have sufficiently high-security safeguards in place.
You also could soon have to contend with difficulties comparable to those you are already facing if you are not properly safeguarded.
What Results in the Error Message “Operation Did Not Complete Successfully”?
The programme attempted to accomplish something but failed, as shown by the notification “Operation did not complete properly.” Numerous factors might cause the Error Message “Operation Did Not Complete Successfully”. Below are the causes why this error occurs:
-
Windows Defender finds a virus even though the file you downloaded is legitimate
It is conceivable that Windows Defender reported a false positive if you downloaded anything from a reliable website. This is a problem that affects all antivirus software in general: if indeed the code or behavior resembles that of known malware in the Windows
-
The file may be marked as hazardous by Antivirus
A malicious file was downloaded by you. The majority of the time, rogue individuals and misleading links transmit files that look legitimate but actually contain malware. After defending your device in this case, Windows Defender provides a strong warning.
Techniques to Fix “Operation Did Not Complete Successfully Because The File Contains A Virus”
Now, let’s move on to the techniques for getting around this message error if you are confident that the applications you downloaded are trustworthy.
Note: Be aware that your computer might be at risk before continuing. It could be risky to open the file on your device, if it does contain malware. Therefore, execute an antivirus analysis on the file you have received when you’re unsure it’s genuine, and afterwards look for another safe download.
Technique 1: File or Folder should be Added to the Exclusions List
Without having to disable Windows Defender or your third-party antivirus, you may ignore the warning. Simply include it in the exclusions list, either by adding the file itself or the folder in which it is located. Hence, the defender/antivirus will stop scanning that particular directory for any malicious programs/files by doing this on your computer. To apply this technique, follow the steps below –
- Locate the file’s location by using File Explorer. Using the Ctrl + C keyboard shortcut, click on the address bar and copy the complete file path to the file.
- Click the magnifying glass icon to reveal the search field in your taskbar. Additionally, you may access it by pressing Windows + S on your computer.
- Launch Windows Security from the search results after typing in the name of the program.
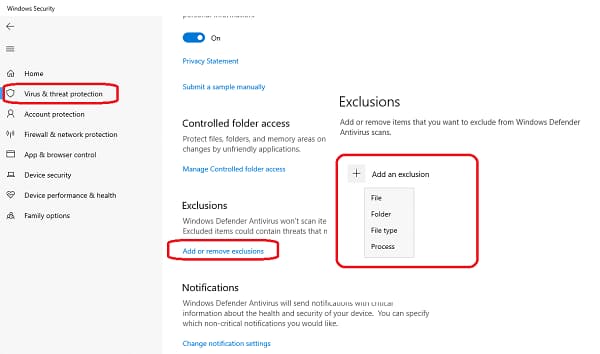
- Now, by using the home screen or the menu in the left-side pane, navigate to the Virus & Threat Protection tab. Here, select the Manage settings option under the settings for virus and threat protection.
- Next, click the Add or delete exclusions tab under “Exclusions.” A new page will open after the redirect.
- Now, select the Add an exclusion button. Depending on what you want to access, choose File or Folder from the drop-down option.
- Then, press the Ctrl + V keys to paste the path you copied from the address bar. Once you’re done with that, press the Select Folder button.
Finally, you will be able to open the file after you add it to an exclusion list.
Note: In order to ensure that there was no malicious virus in the file, we suggest you execute an antivirus scan subsequently.
Technique 2: Disable Windows Defender Momentarily
The operation could not complete properly because the downloaded file includes a virus, however, you can ignore it if you think the file is authentic. You must open the file when Windows Defender is off and briefly turn off Windows Defender.
Option 1: Turn off Windows Defender in the Settings menu
- Accessing the Settings menu is the quickest approach to disabling the built-in antivirus.
- To open the Start menu, click the Windows symbol in the lower left corner of your screen.
- You may also press Windows + I to quickly access Settings.
- Now, press on the Update & Security panel as the majority of your security settings are located here.
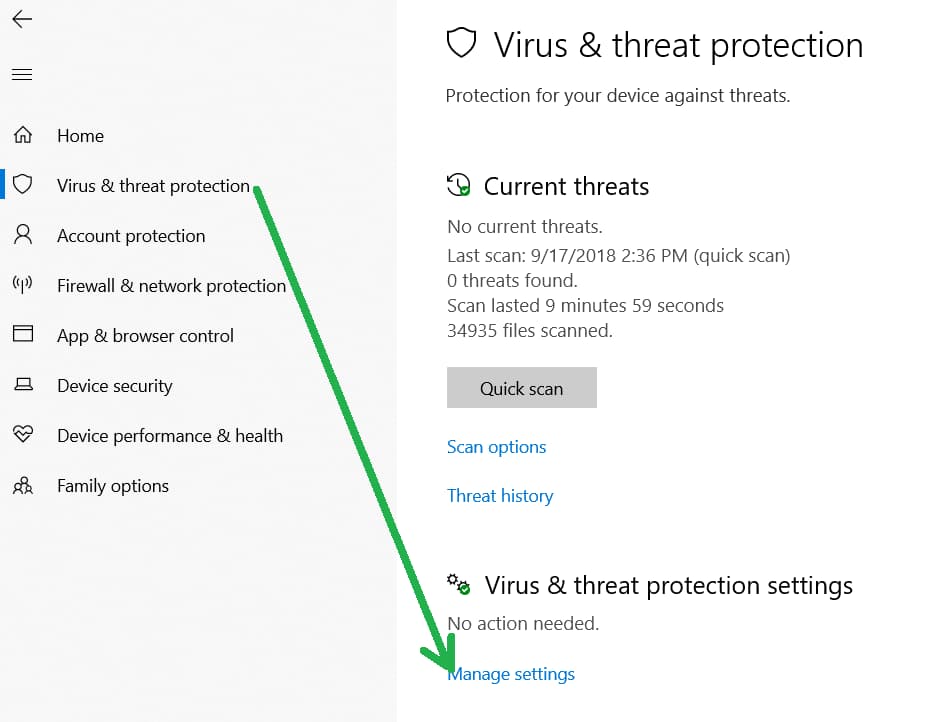
- Hence, virus & threat protection may be accessed by clicking the Windows Security tab, then clicking that.
- To begin, choose the link labeled “Manage settings” under the header “Virus & threat protection settings.”
- You’ll be sent to a different page. To disable Windows Defender, click the Real-time protection toggle button here.
- Reopen the file if necessary. Repeat the process and switch off Cloud-delivered protection if you continue to receive errors. and if you’re still unable to ignore the warning, you might need to access the Registry to toggle Windows Defender off.
Option 2: Windows Defender may be Disabled in the Registry
The conventional method of turning off Windows Defender antivirus software might not work for all users. Hence, try to disable the application using the Registry Editor if the above option mentioned is not working for you.
- By clicking the magnifying glass icon in your taskbar, you may access the search field. Additionally, you may access it by pressing Windows + S on your keyboard.
- Click the first relevant search result after typing Registry Editor into the search box.
- Navigate to the following key, or copy and paste it into the Registry Editor’s address bar: HKEY_LOCAL_MACHINE\SOFTWARE\Policies\ The Microsoft Windows Defender.
- Double-click on the Disable Anti Spyware registry entry after finding it.
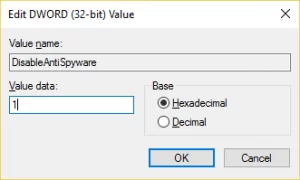
- Right-click on any empty space and choose New DWORD (32-bit) Value if you can’t see this key. Double-click on the key with the name DisableAntiSpyware to see its attributes.
- Windows Defender and the Antimalware Service Executable (MsMpEng.exe) in Windows 10 may be turned off by setting the Value data to 1 in the registry.
- Restart your computer after quitting the Registry Editor. The functionality of your gadget may have improved.
Later you can reopen the file if required. Repeat the process and switch off Cloud-delivered protection if you are still receiving errors. Removing Windows Antivirus through the Registry could be essential if you’re still unable to get past the warning.
Technique 3: Launch the Disk Cleaning Tool
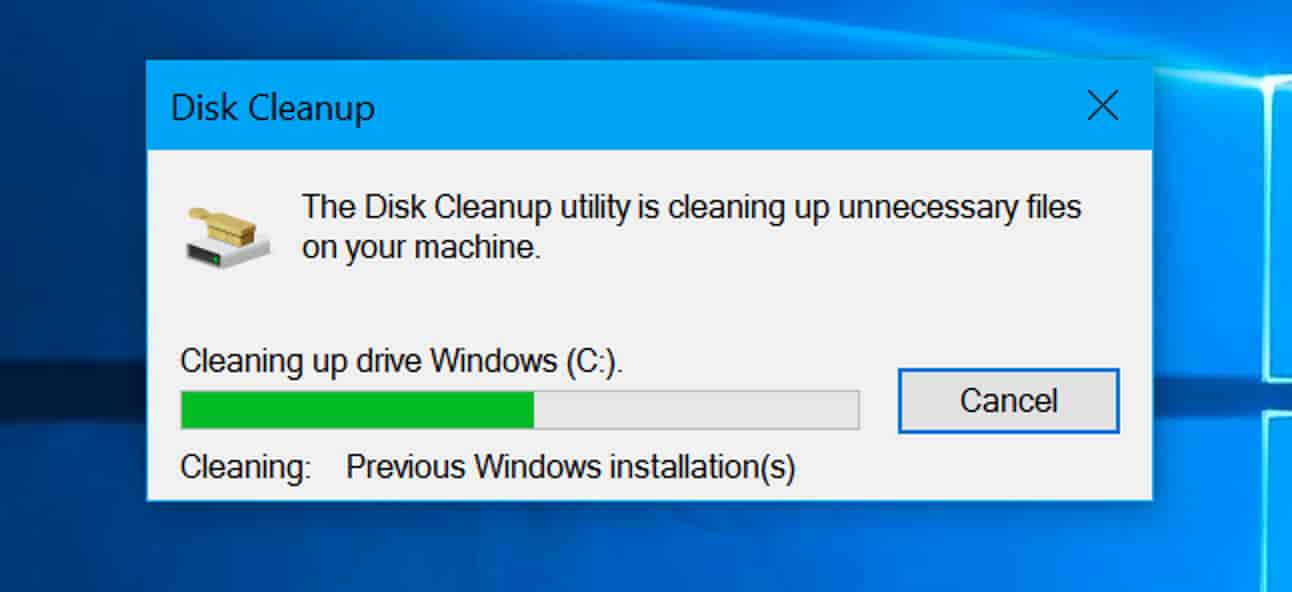
Temporary folders and files are often produced by Windows 10. If they build up, your computer may be affected and experience false errors. To free up space and resolve computer issues, remove unnecessary files with the Disk Cleanup tool.
- By clicking the magnifying glass icon in your taskbar, you may access the search field. By pressing Windows + S on your keyboard, you may also access it.
- Search for “Disk Cleanup” and choose the first result.
- Now, click the OK button after choosing the Windows 10 system drive. In most cases, disc C is where the system is installed.
- Now, you can see all the space that temporary files have gobbled up in the new window. Verify that both Temporary Internet Files and Temporary Files are chosen. Thumbnails and the DirectX Shader Cache are two other unwanted files that you may remove. Click OK once you’ve finished choosing the items you wish to delete.
- Lastly, in the dialogue box that appears, select Delete Files. It will begin to remove items from your device and make space for them.
Technique 4: Execute an Antivirus Scan
To apply this method to solve “operation did not complete virus windows 10”, follow the steps below:
- Firstly, by pressing Windows + S, you may access the search bar. Launch it from the search results after entering Windows Security.
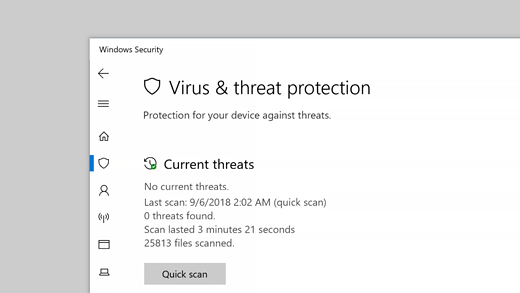
- Using the menu in the left-side pane or the home screen, navigate to the Virus & Threat Protection tab. Select the link for Scan Options.
- Decide to do a full scan. In order to guarantee that threats cannot hide, this will inspect each and every file on each of your discs. Due to the number of files on your system, this scan may take longer than one or two hours.
- Lastly, to start the scan, click the “Scan now” button. Windows 10 will immediately quarantine or eliminate a danger if it finds it. The scan findings can be reviewed later.
Closing lines
We hope you have got your answer to “operation did not complete successfully because the file contains a virus or potentially ”. This specific article, with the simplest techniques, will definitely help you to fix the particular issue you have been facing.
If you are still experiencing issues with this, please reach out to our team for assistance. We are happy to help you troubleshoot & fix this error. Have you been able to resolve the problem on your own using one of our methods? Let us know in the comments below.
Read More: HOW TO FIX WINDOWS UPDATE ERROR 0X80070001?
Frequently Asked Questions (FAQs)
Q1: How do you resolve an operation that was not complete because the file contains a virus?
Ans: You can get rid of this by applying the following techniques:
- The file or folder should be added to the exclusions list.
- By running an antivirus scan.
- By launching the Disk Cleaning Tool.
Q2: How do you execute a file that Windows declares malicious?
Ans: To execute, follow the steps:
- Access Windows Security > Protection against viruses and threats by going to Start > Settings > Update and Security.
- Then, choose Manage options under Virus and threat protection settings.
- Now, choose Add or delete exclusions under Exclusions. Lastly, select Files, Folders, File Types, or Processes, then click Add an exclusion.
Author Profile
Latest entries
 Technology2023.04.20How To Connect Roku To TV? Easy Guide To Follow
- Technology2023.04.20How to Connect Nintendo Switch to TV? (With and Without Dock)
- Technology2023.04.205 Best Barndominium Design Software (DIY & Professional)
- Technology2023.04.20What Is The Relation Between Behavior-Driven Development And Agile Methodology?