Windows 10 has been known to have its share of bugs and glitches. But one of the more annoying ones is- Windows 10 Taskbar Frozen when the taskbar becomes unresponsive and frozen. This can happen for a variety of reasons, but fortunately, there are a few things you can try to fix. If you’ve been noticing that your Windows 10 taskbar has been freezing more often, don’t panic! In this blog, we’ll walk you through some simple steps to help you fix the problem. By following our detailed guide, you can get your taskbar back to working order in no time. Let’s get started!
What is Windows 10 Taskbar Frozen?
The Windows 10 taskbar frozen is a problem that can occur when your computer’s memory becomes overloaded. This can happen if you have too many programs running at the same time, or if you have a lot of files open in different programs. When this happens, the taskbar may stop responding to input from your mouse or keyboard, making it difficult to use your computer. In most cases, the problem can be resolved by restarting your computer. However, if the problem persists, you may need to use the Task Manager to end any unresponsive programs.
Causes of Windows 10 Taskbar Frozen
The user can trigger several causes of this taskbar freezing.
- You haven’t completed the Windows 10 operating system systematically.
- Corrupted files are the following cause of the issue. You may go for the solution accordingly.
- The admin account files errors.
- Any bug or malware is creating the problem.
How to Fix Windows 10 Taskbar Frozen?
Let’s check some fixes for the taskbar frozen windows 10.
Fix 1. Windows Explorer Restart
- From the “Lower left side” of the Windows system, use the mouse “Right Click” to open the Task Manager. Or, you can go for “Ctrl + Shift + Esc” to launch “Task Manager.”
- A Window will appear before the user for selecting the “Process” tab, exactly down the “File” option. After that, you need to find the “Windows Explorer” option and restart it to complete the fix procedure.
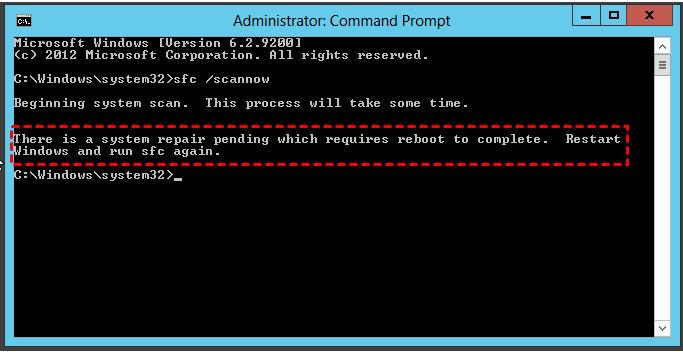
Fix 2. SFC Scan
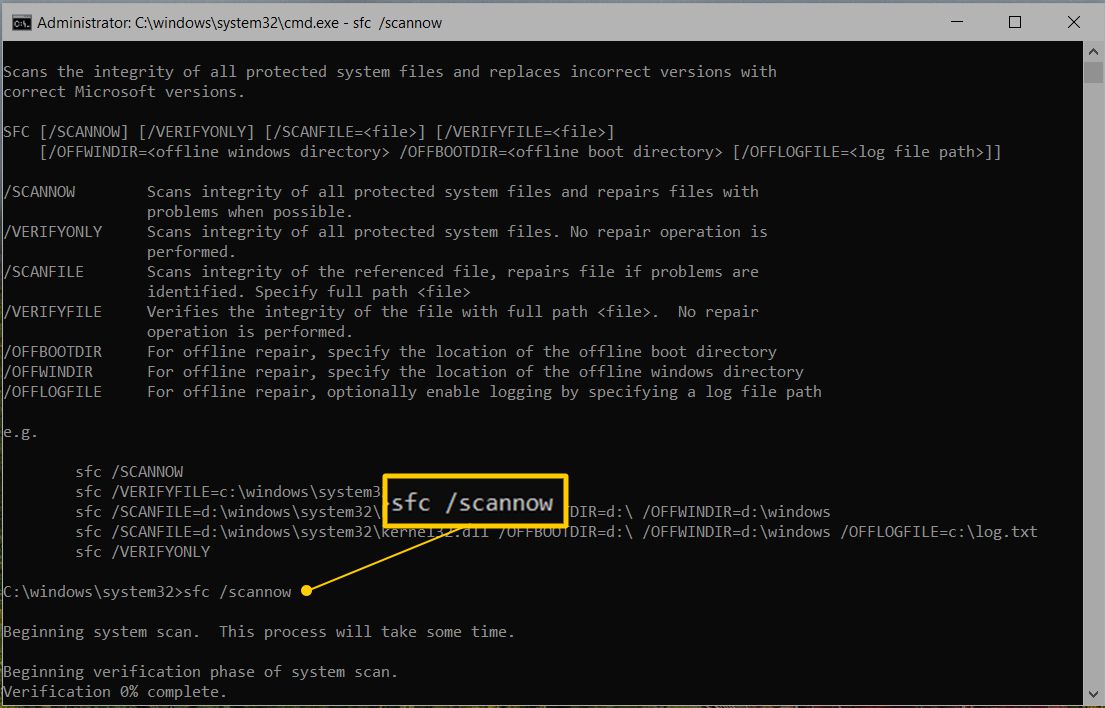
In most technical or other Windows-concerned glitches, you may find the system file checker method practical. It will detect the threat of system files and fix them accordingly.
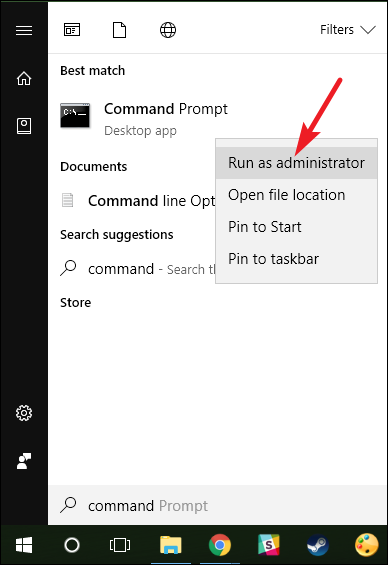
- Open Task manager. You may not click on the taskbar for it. So better, use “Ctrl + Shift + Esc” for the window. Now click on the “File” option for “Run New Task.”
- Type “CMD” for “Create this task with administrative privileges” and press “Ok” for the command prompt.
- Mention “SFC/Scannow” and hit the “Enter Button.“
If the initial level effort doesn’t work for the corrupt file cause, then you may proceed for DISM too.
Fix 3. DISM
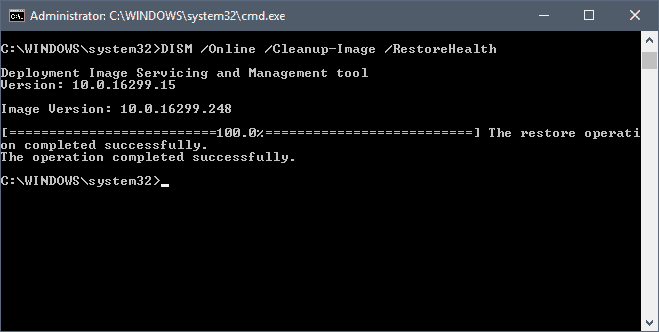
- Open Task manager. You may not click on the taskbar for it. So better, use “Ctrl + Shift + Esc” for the window. Now click on the “File” option for “Run New Task.“
- Type “CMD” for “Create this task with administrative privileges” and press “Ok” for the command prompt.
- Now, type “Dism /Online /Cleanup-Image /RestoreHealth” to hit the “Enter Button.”
Fix 4. Powershell for Taskbar Frozen Windows 10
- From the “Lower left side” of the Windows system, use the mouse “Right Click” to open the Task Manager. Or, you can go for “Ctrl + Shift + Esc” to launch “Task Manager.”
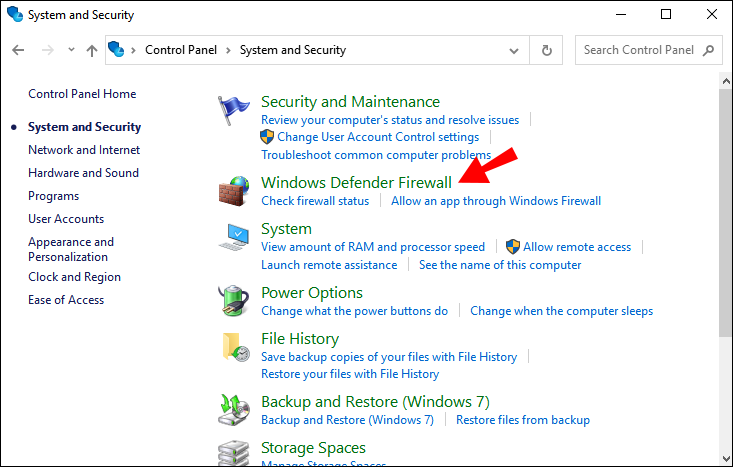
- Move to the “Service” option to find “mpssvc.” That is a Windows defender firewall. Check whether that particular service is in running mode or not. Run it with the right click of the mouse if that is not so.
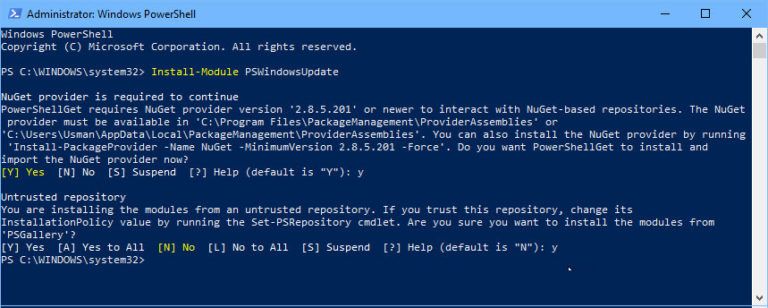
- Go to the “File” option for “Run New Task” and type “Powershell” for the box ” Create this task with administrative privileges. Hit the “Ok button.
- Use “Get-AppXPackage -AllUsers | Foreach {Add-AppxPackage -DisableDevelopmentMode -Register “$($_.InstallLocation)\AppXManifest.xml”}” in the Powershell window. Hit the “Enter” button to fix the taskbar frozen.
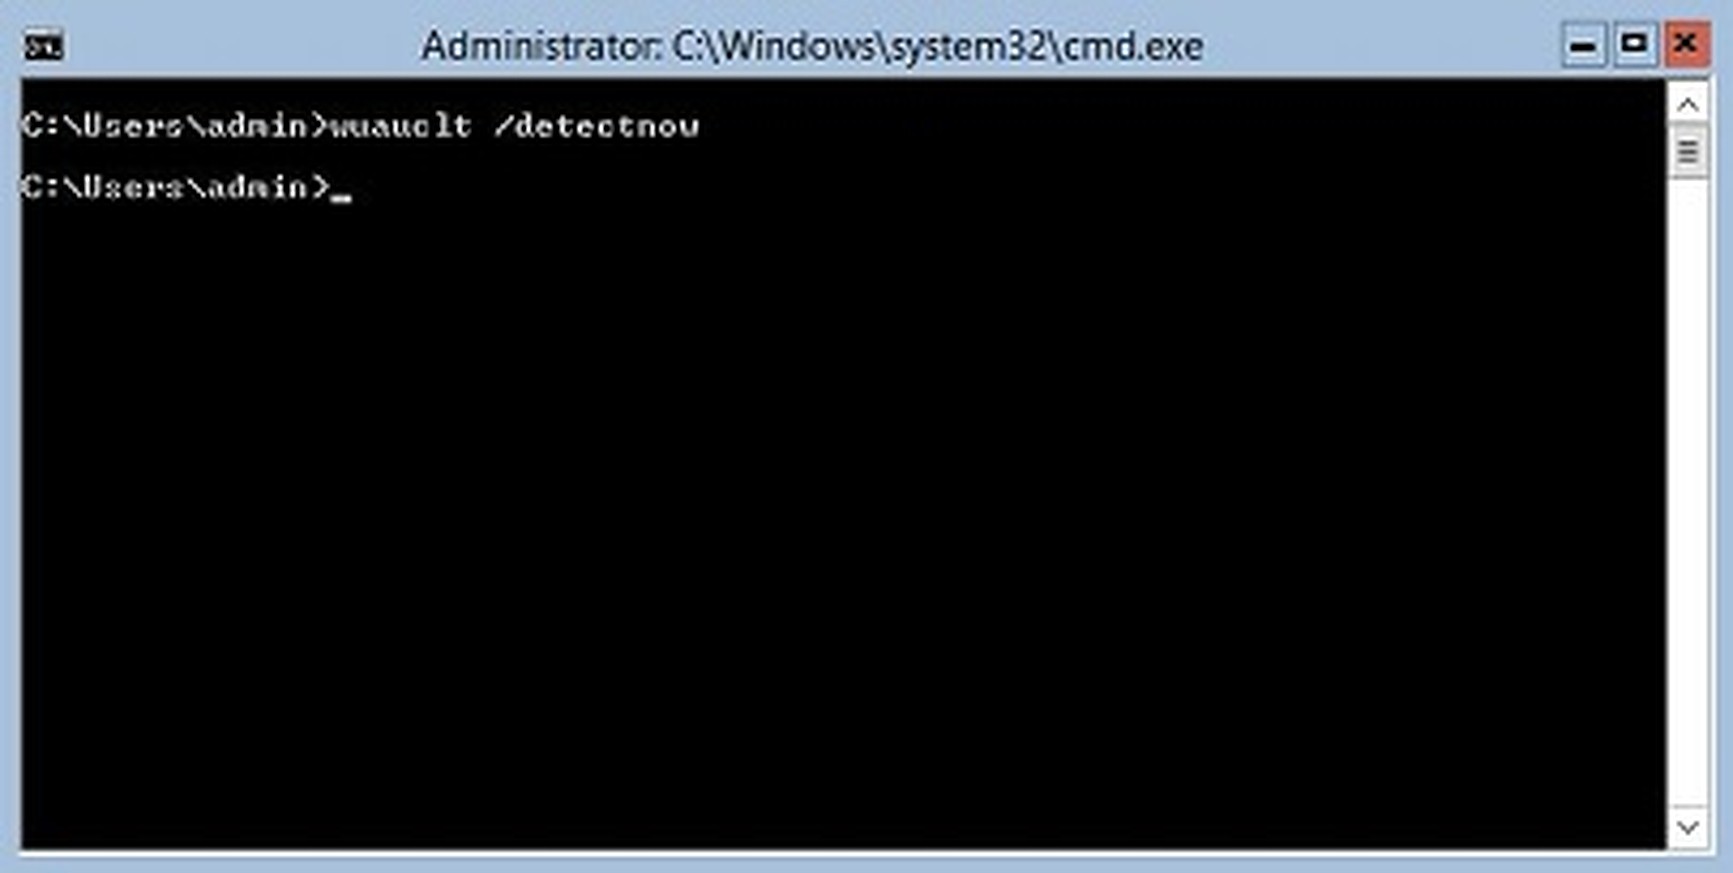
Fix 5. Windows & Drivers Update Installation
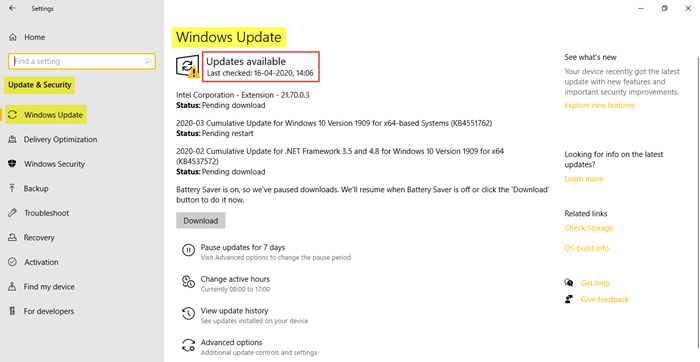
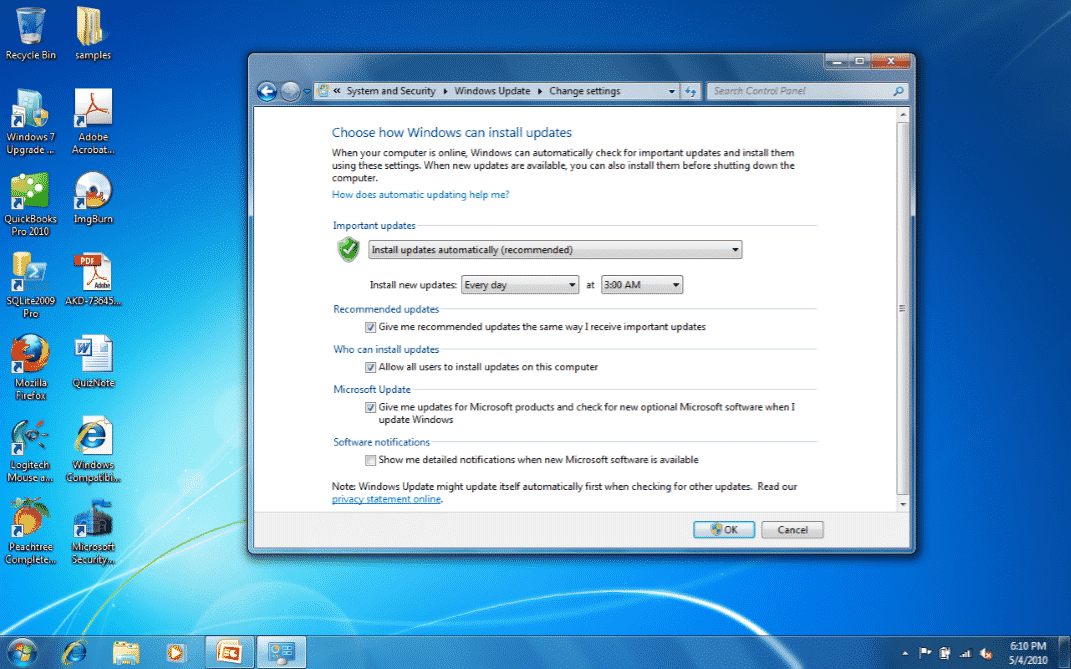
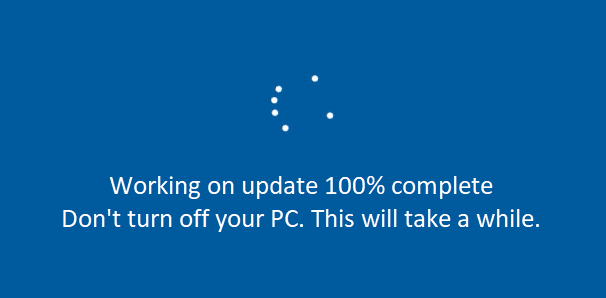
You may or may not relate the cause, but the frozen taskbar may occur because of improper or incomplete Windows & driver updates. You can also use this resolution if you face issues like Windows Search Bar Not Working, Start Menu critical error & other related errors. Go for the fix like this.
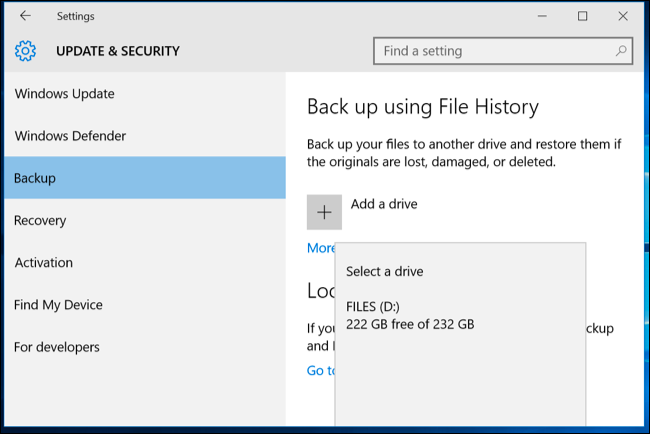
- Open the “Settings” window. Click on “Update & Security” and then “Windows Update.”
- Confirm the requirement and act accordingly.
Fix 6. Enable the User Manager
- Launch the “Task Manager” with the help of Fix 1 first step. Click on the “Create a New Task” and type “service.msc” and then select the “OK” button.
- Furthermore, find “User Manager” and launch it. In the “General” section, go for the “Startup Type” to make it “Automatic.”
- Apply the changes with the “OK” button and restart it for modification effectiveness.
Fix 7. Disable the Recently Opened Items
Windows 10 taskbar frozen is fixable by disabling recently opened items.
- Choose the “Personalize” option! Appearing from the right-click of the mouse on the computer screen. The “Settings” window will allow you to select the ” Start” option.
- Turn off the option “Show recently opened items in Jump Lists on Start or the Taskbar.” Be sure to seek the changes after the computer restart.
The Final Words
So, these are some of the ways that you can try to fix the Windows 10 taskbar frozen issue. We hope one of these methods works for you. If not, don’t worry – we have a few more solutions for you. Just keep reading! Did any of these solutions work for you? Let us know in the comments below.
Frequently Asked Questions
Q.1 Why is My Taskbar Frozen?
Technical glitches can cause the taskbar to freeze. Other reasons are improper driver and windows updates, corrupted files, disabled user manager, and more.
Q2. How Do I Reset My Taskbar Windows 10?
Open up the Task Manager by pressing Ctrl+Shift+Esc or by right-clicking on the Start button and selecting “Task Manager.” Click on the Processes tab. Locate and click on Windows Explorer in the list. Then, click on Restart in the lower-right corner.
You should see your Taskbar appear momentarily before disappearing again. Pressing the Windows key should bring everything back to normal. If that doesn’t do it, restart your computer to see if that fixes the problem.


 What is Windows 10| How Long Does It Take to Upgrade to Windows 10?
 Although the market is full of so many antivirus software available for your use, there is always a need to choose the best one from all those options. You will find yourself often in confusion of Windows defender vs Norton or Mcafee vs defender etc.