Do you also want to stream OTT content on your cable TV? Well, it is possible with the Roku remote. If you have a Roku remote, then you can connect your TV with it. But this step is most troubling for various non-tech savvy people. Hence, we are coming up with a stepwise guide that will tell you how you can connect Roku remote to a TV.
Connecting a Roku remote to a TV is quite challenging for some people. Thus, we have compiled easy steps for you to save time. You just need to get down with the article and get your Roku remote connected with you remote and have the best experience of watching OTT series and content on your monotonous cable TV.
What is Roku?
Roku is a brand of digital hardware that provides high-end hardware to make your life easier and give you access to the digital world. Well, this remote is specially designed for people who don’t have a smart TV. It will enable you to watch various contents on a cable TV Roku TV by only paying the subscription fees.
However, it is such a well-established brand, as it has more than 65 million active users across the world. You can stream multiple types of video content on your simple TV or PC. This remote helps to watch seamless content on the TV with good video quality. Moreover, if your TV has an HDMI port, then you are all set to use a Roku remote. Let’s check further to know how to connect Roku remote to the TV.
Types of Roku Remote
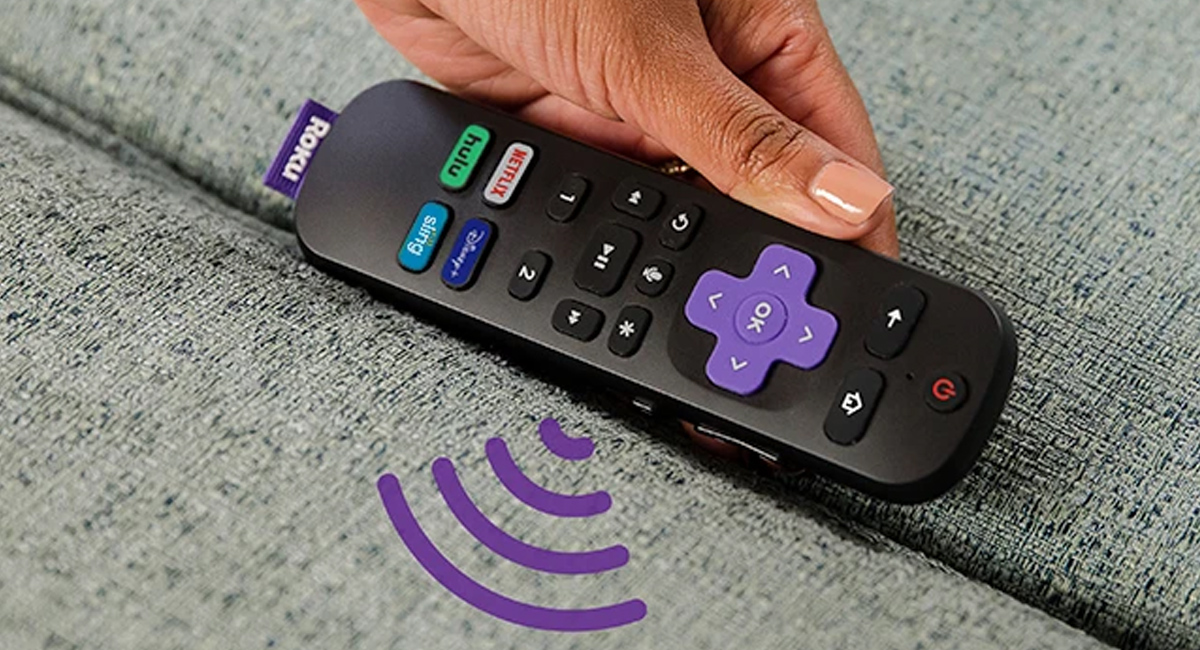
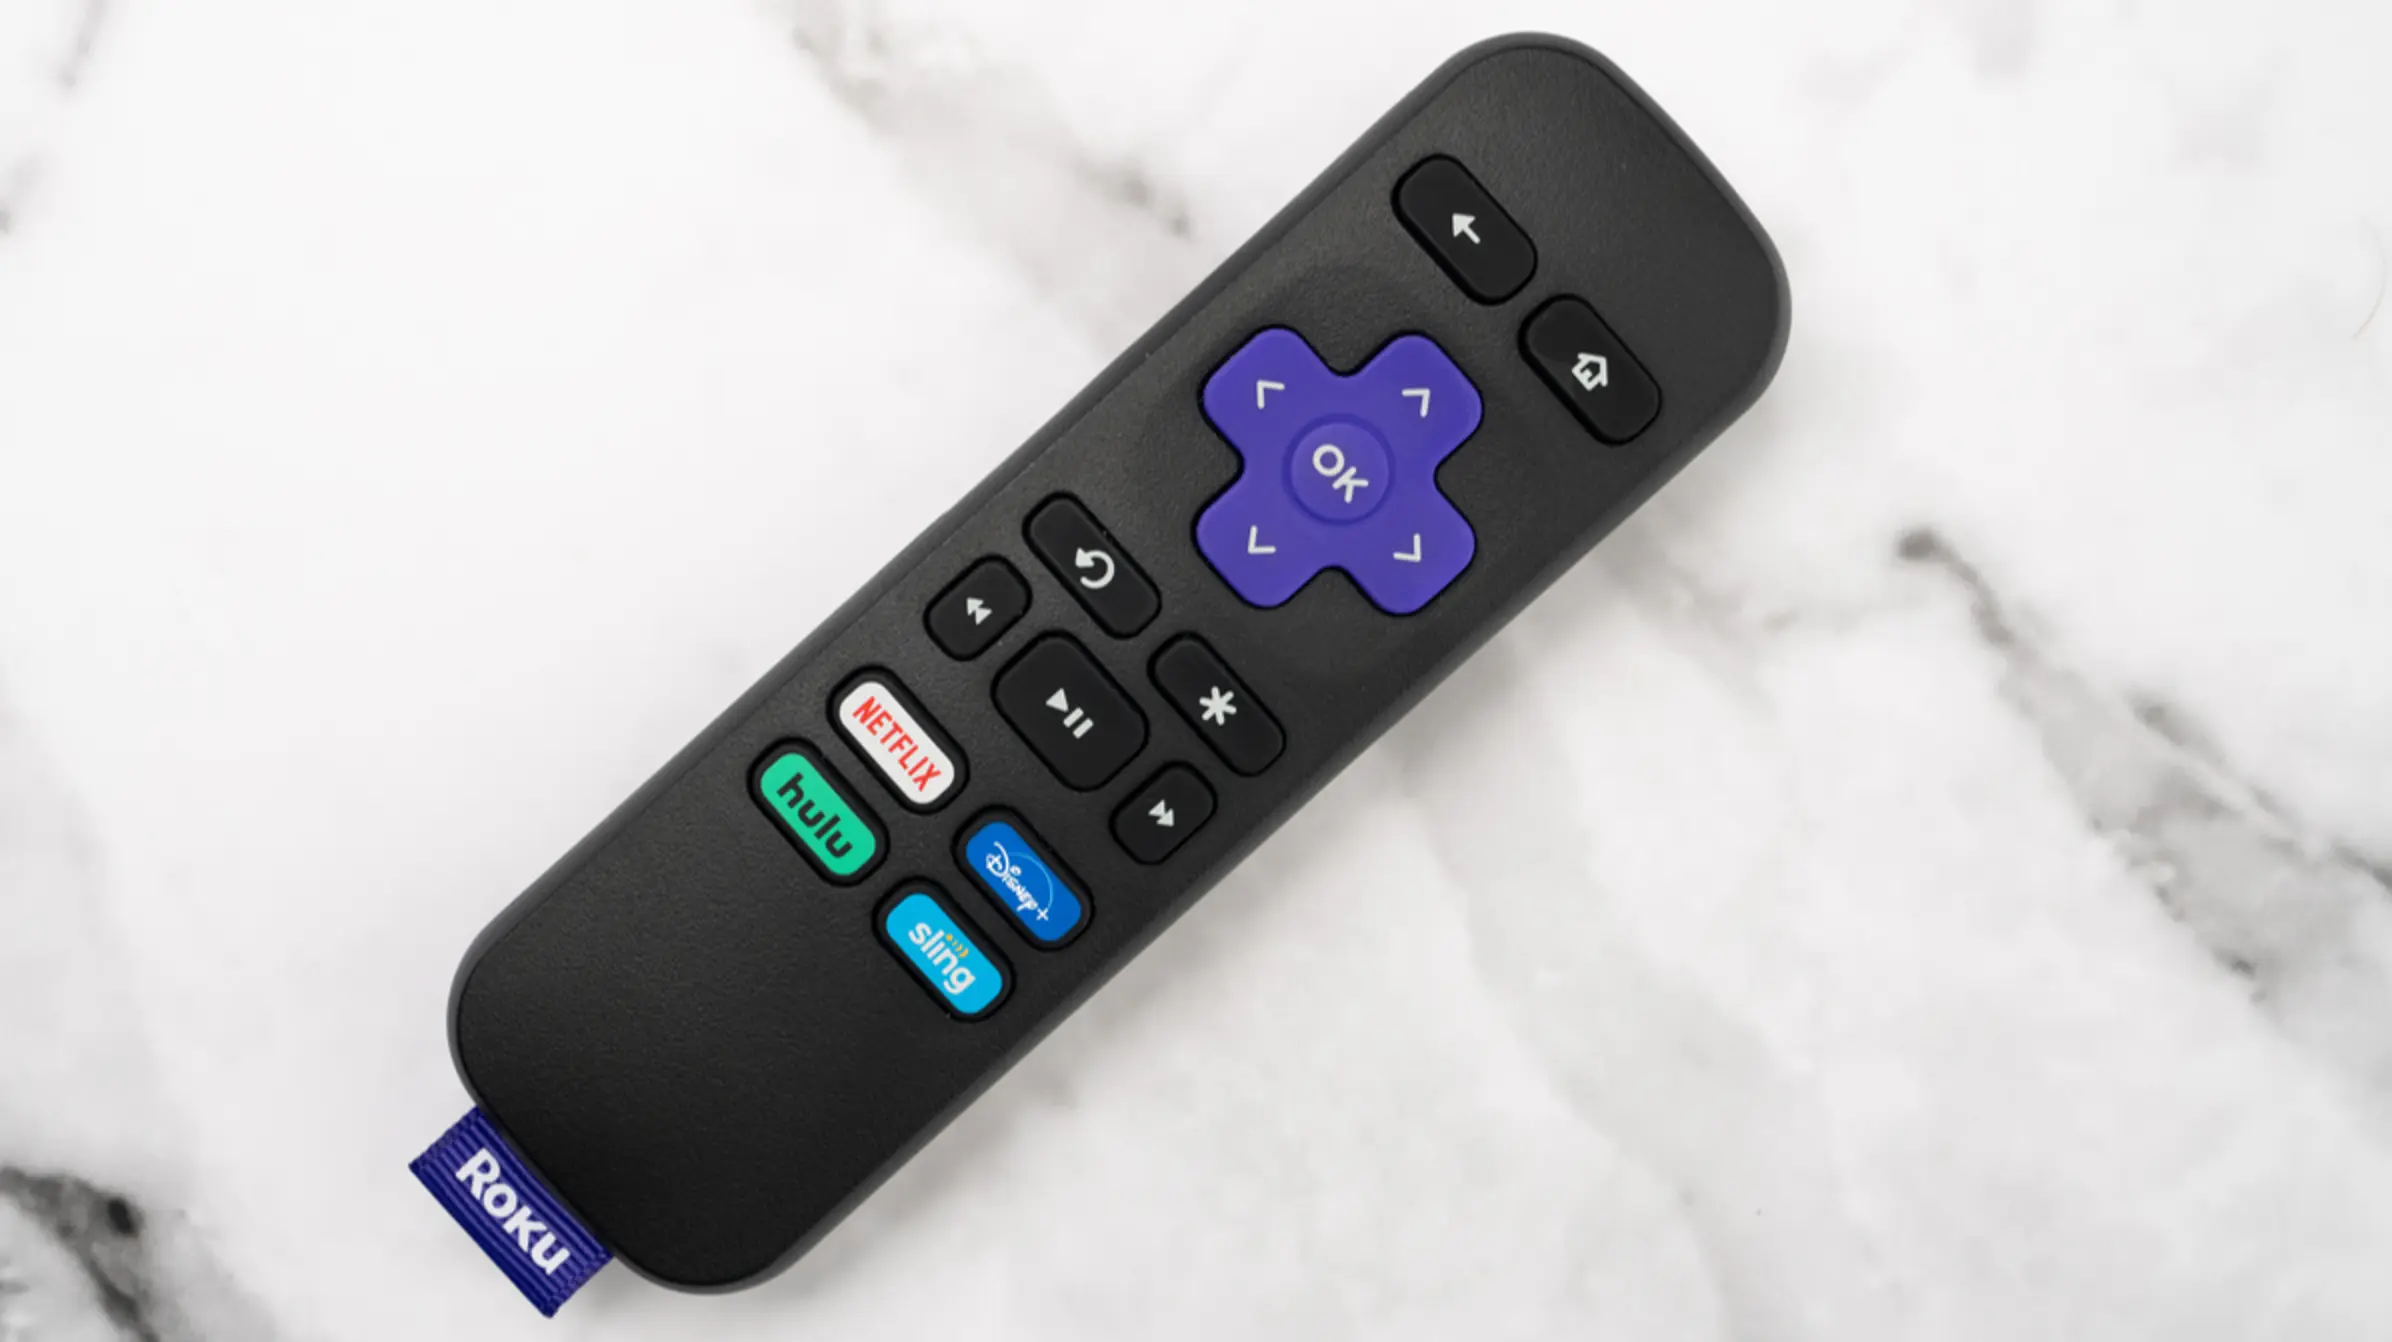
There are two types of Roku remotes to support your entertainment needs, as pairing a TV with a remote is the initial step for how to sync Roku remote to TV. Well, connecting procedure depends on the type of remote you are using. Thus, we have crafted this section to know the real difference between the process of connecting.
- Roku simple remote
- Roku voice remote
Well, a simple remote is a normal remote that doesn’t serve you with various features. It consists of infrared lights and works like a normal remote. Moreover, A Roku remote serves you with different and astonishing features; it consists of a mic and magnifying glass feature.
How To Connect Roku Remote To TV?
Well, connecting a Roku remote with a new TV is not a tough task to do. But connecting can really give you a pleasurable experience of watching TV with the content you want. Being able to watch your favorite series on a huge screen without bothering about what TV set you have is such a blessing. However, You can simply connect your Roku remote TV to your new TV in a few steps, but before getting into steps, you must know a few instructions so that you can connect your remote to the TV correctly.
Instruction Before Connecting Roku Remote To TV
There are three things that you are required to check before you start pairing the Roku remote with the TV. You must ensure the below-written things first. Otherwise, you will get in more trouble while connecting Roku remote to a TV.
- Make sure both devices are connected with the same Wi-fi and the network.
- Keep the volume up of your TV, so that you will be able to figure out whether the remote has started working or not.
- Make sure you have the batteries in the remote and are working.
Process To Program Roku Remote To TV
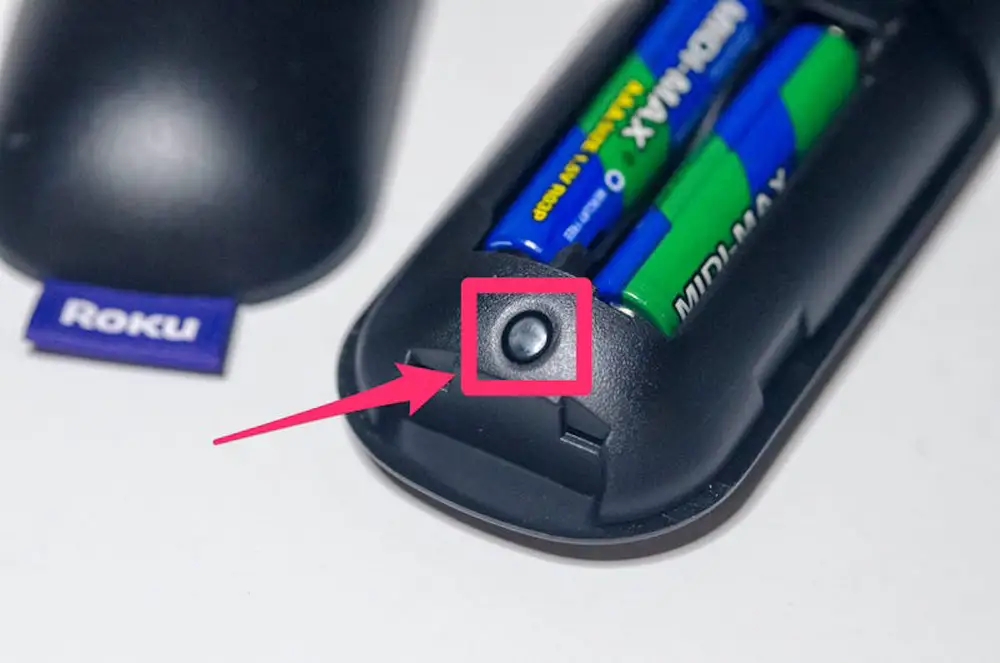
To connect the Roku remote, first, you have to click the pairing button located inside the battery cover. Press that for a while and get it ready for the pairing. If you cannot find the button, then you must get into the setting of your remote by clicking the home button, and then pressing the set up remote pairing option will resolve the issue.
- When you are getting it paired, the first step you will have to perform is allowing the permissions to the Roku remote. When you get connected, you will get two options for playing the music. You have to click on yes to allow it.
- In the second step, you have to allow another permission, as the Roku remote will try to block the audio, and you will have to click yes again, As it will ask you whether the sound trial was successful or not. Choose the answer which is right for the trial.

- If you select no, then you will get the option to enter the brand name manually. We would advise you to do it manually as doing it manually can really have a better experience, and also, it can avoid the potential headache of not getting connected.
- Again, when you enter the name of the brand manually, you will get the option to allow permission to play the music on your TV. You are required to keep the volume up all the time to know if the remote has actually started working or not. Then again, click yes and no as per your preference of the audio type.
How To Connect Roku Remote To TV Without Wifi?
If you don’t have a Wi-Fi connection at your place and looking to connect Roku remote to the TV, then you must know the process of connecting the Roku remote to the TV in 4 easy ways without using Wi-Fi. Well, the below-written ways are tried and tested by our technical experts. You can follow all these ways as per your preference and resource availability.
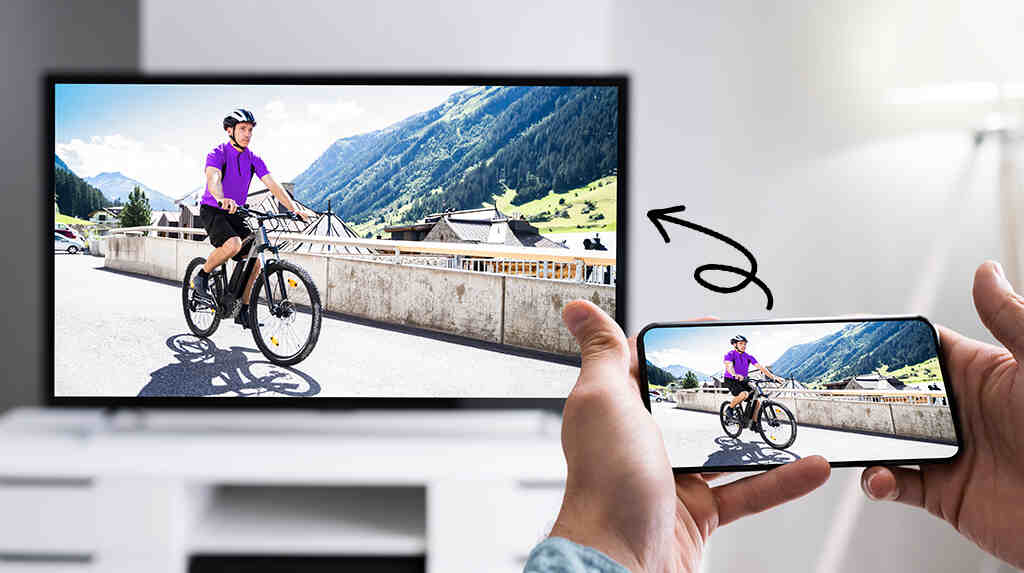
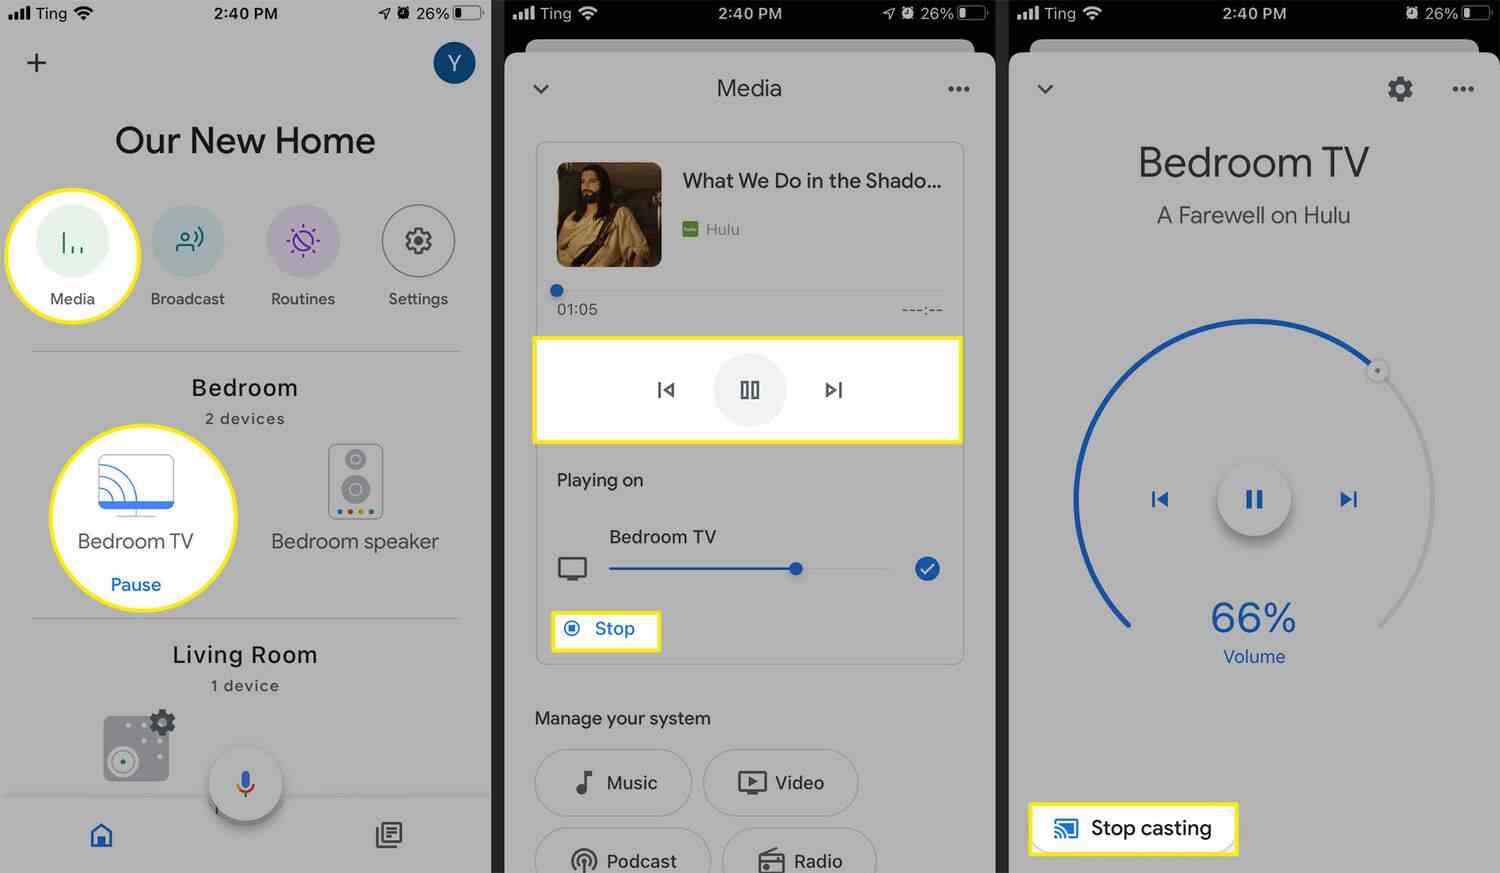
Screen Mirroring
If you are not able to cast your favorite video on the TV, then screen mirroring is the best way to overcome Wi-Fi issues. Let’s check the below-written steps to know how one can connect to the TV.
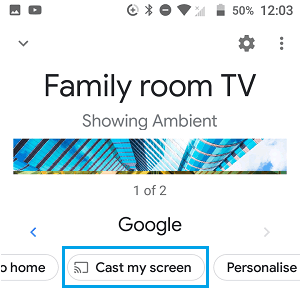
- The first step is to create a phone player. Now click on the cast icon.
- Here you can see the list of all the available devices through which you can connect your TV. Make sure you choose Roku here.
- Here you will be able to transmit the signal of your remote to the TV.
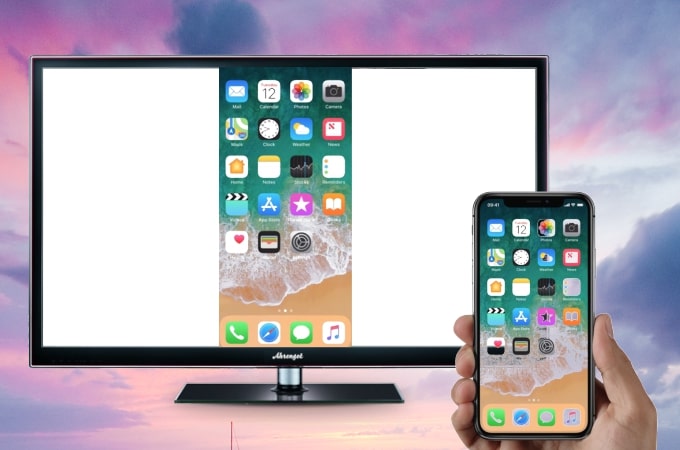
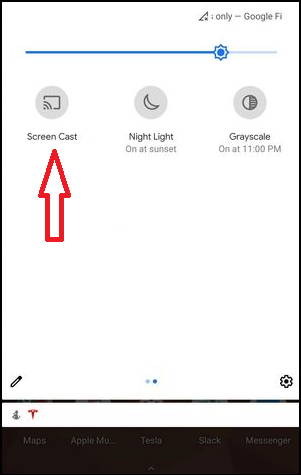
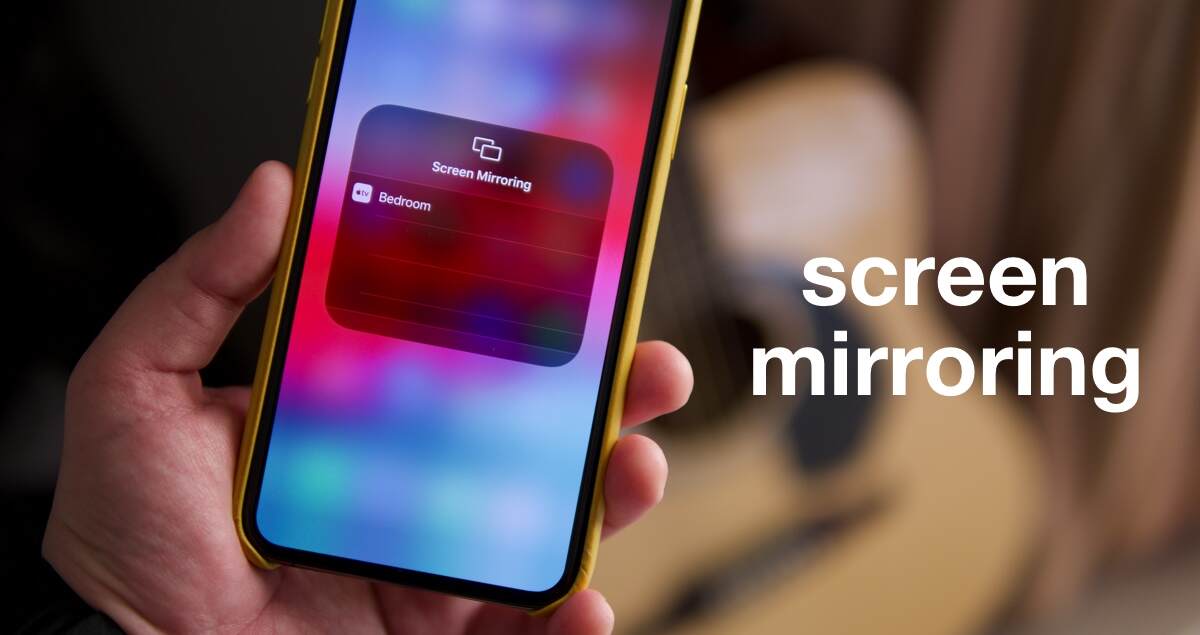
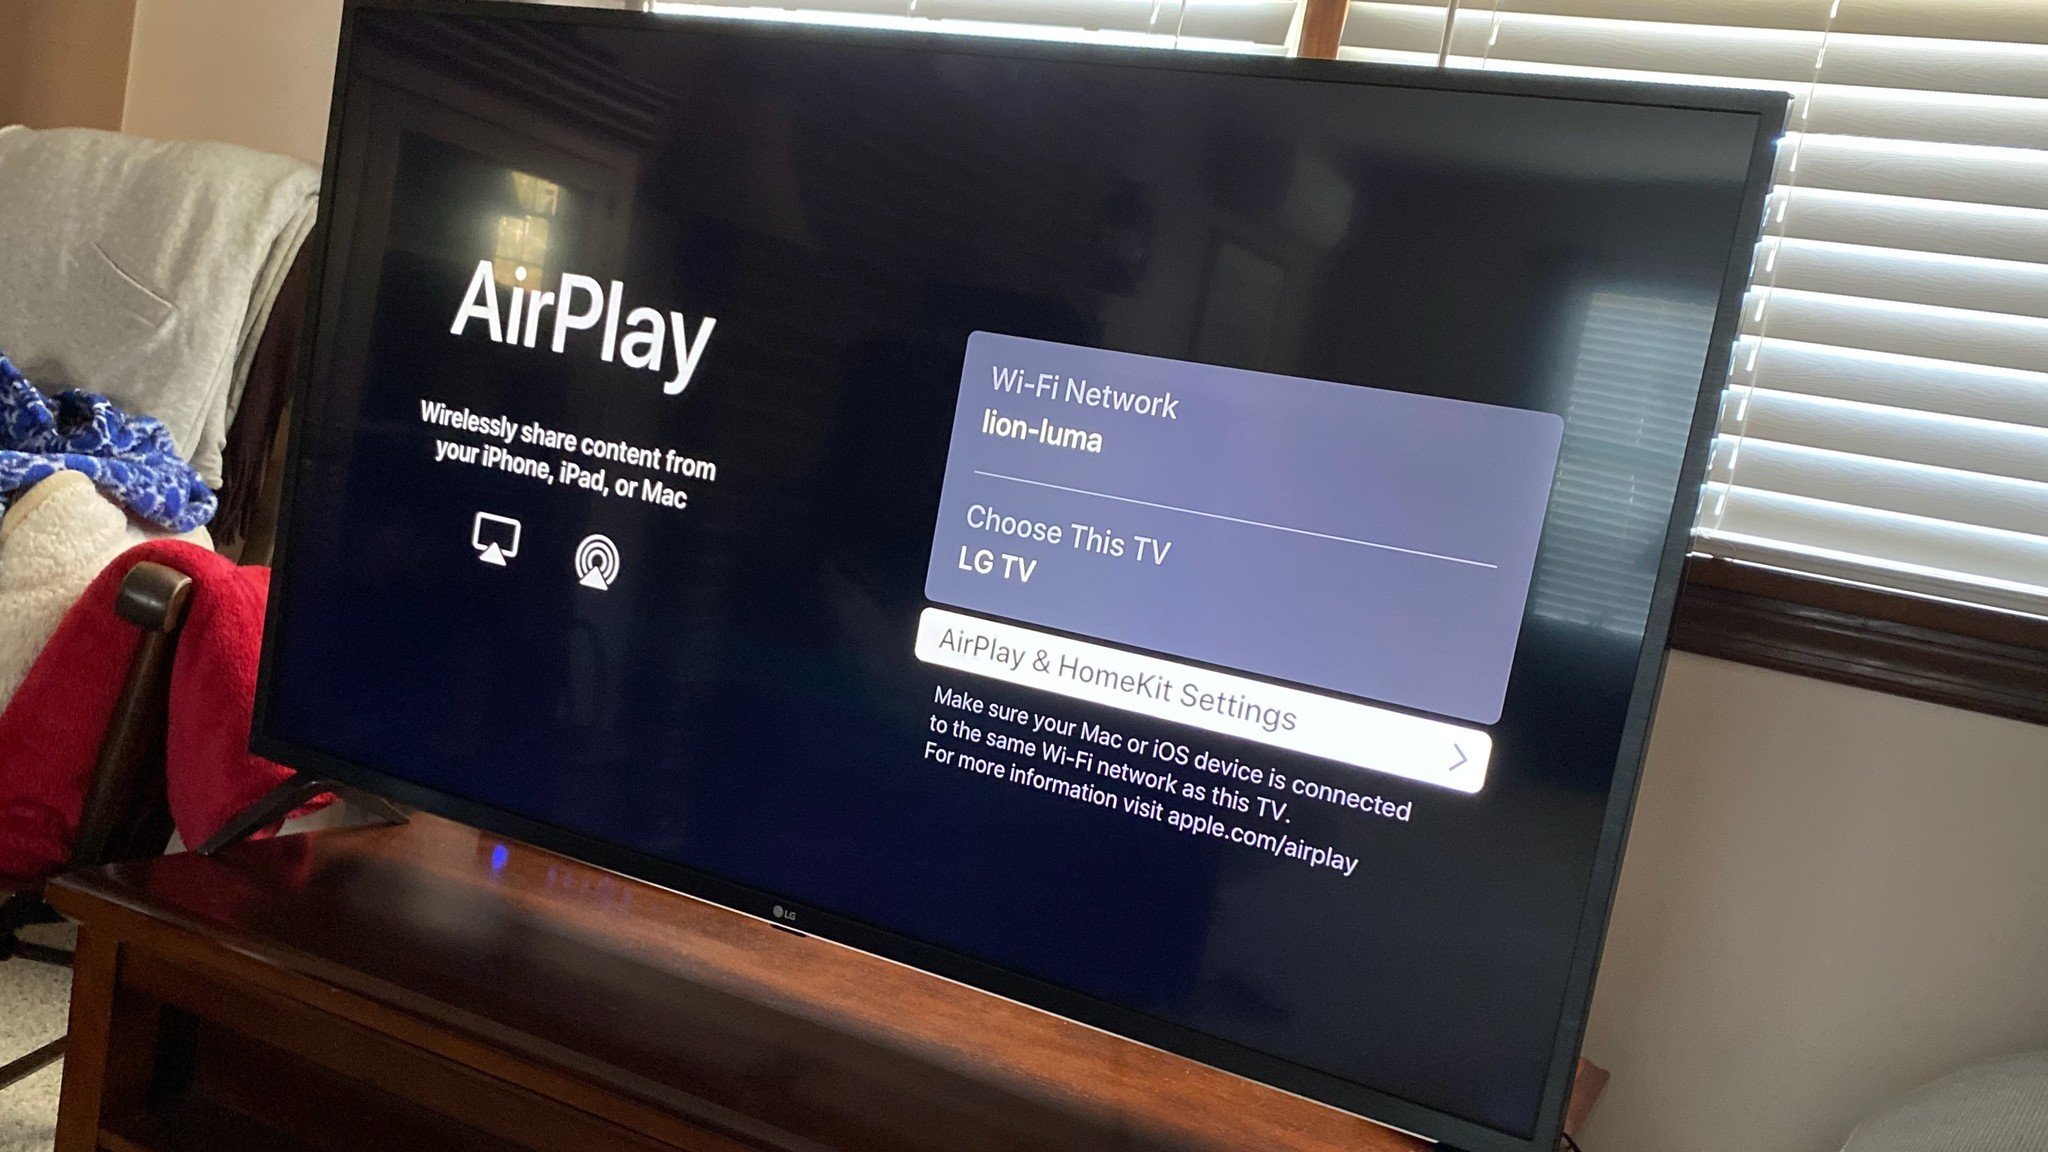
- Now, you are required to enable screen mirroring on your phone; however, you can use the airplay icon for iPhone and iPad. You must know how to do airplay on TV.
Here you must keep in mind at AiPlay is Just cause of the content you have chosen. moreover, if you use Chromecast, then you will be able to mirror the screen.
Via Hotspot
If your Wi-fi network is not working, then you must rely on a mobile hotspot. Well, using this way is similar to connecting with Wi-fi. This means that you can manage your TV on your phone network easily. Let’s check the easy steps through which you can connect your Roku remote.
- Turn on your mobile hotspot.
- Now, click the home key on the remote and then get into the network settings.
- Here, you are required to choose the option of wireless connections.
- Now, select your mobile hotspot from the list.
- You are all set to connect your remote to the TV.
Well, there is a limitation to using this method because of the mobile data limit. Hence, you can try other below-written methods coming your way.
Rely on Ethernet Cable
An ethernet cable is another incredible option that you can try to avoid a Wi-fi connection. In this way, you are required to utilize the ethernet cable as they provide high-end internet speed. Connect the router via the Roku ethernet port and then set up your network type as ethernet. Well, the process is simple but lacks when the cable TV doesn’t come up with the Ethernet port. However, you can try only this way if you have the port on your TV, Also, this won’t work on streaming sticks.
Computer Connection
Another alternative that you can carry on with is connecting your remote to your computer and then connecting it to the TV. This will enable your TV as the second screen for mirroring any video. However, for this method, you have to check that your TV has an HDMI port, and you must have an input port on your PC too.
Moreover, here you must keep in mind that you cannot use any kind of streaming device as there will be no separate screen support for them. After checking all these things, you are all said true follow the below-written steps and enjoy the pleasurable watching experience of your favorite video on a huge screen.
- First, you are required to connect the HDMI to the TV and the computer.
- Now, you must reset the input and play whatever content you want to stream on the big screen.
- Get into Google Chrome and use the Roku stream feature by clicking the three-dot menu. You can cast your screen on the TV, and here you are all set to watch your favorite video on a big screen of your TV.
Frequently Asked Questions
Q1. How do I pair my Roku remote to my TV without the pairing button?
If you don’t have a pairing button on your remote, then you simply have to press the home key and get into the settings option here; you will see a menu there; click the remote and TV setting. Click the remote setting option. Here, you will see an option of “set remote for TV control.”
Q2. Will a Roku remote work on any TV?
Yes, the Roku remote works on almost every kind of television set. Well, there was so much confusion about the working efficiency of the Roku remote on non-Roku televisions. Well, as far as your TV has an HDMI port, you are all set to connect your Roku remote to your cable TV.
Q3. How do I pair my Roku remote without WI-FI?
You can connect your Roku remote without Wi-fi by screen mirroring; you can use a hotspot and rely on a computer connection too. Well, you can check the above article to know the process in a better way.
Conclusion
Watching OTT content on cable TV is another level of satisfaction. Hence Roku remote comes to use. Many people got confused about how to connect Roku remote to a TV. Well, we have resolved this. In the above guide, we have given you a full comprehension of the way how to connect a Roku remote to a TV.
Moreover, we have also given a way to connect a Roku remote to your TV without using a Wi-Fi connection. Hope everything has been cleared for you about how to connect Roku remote to TV. If you still have any queries, then you can connect us anytime.